December 04, 2021
Written By: VetriScience
If you’re looking for a personalized gift for your pet this holiday season we have the perfect idea for you! Resin pet tags are super easy to make, customizable and affordable!
Here’s what you’ll need:
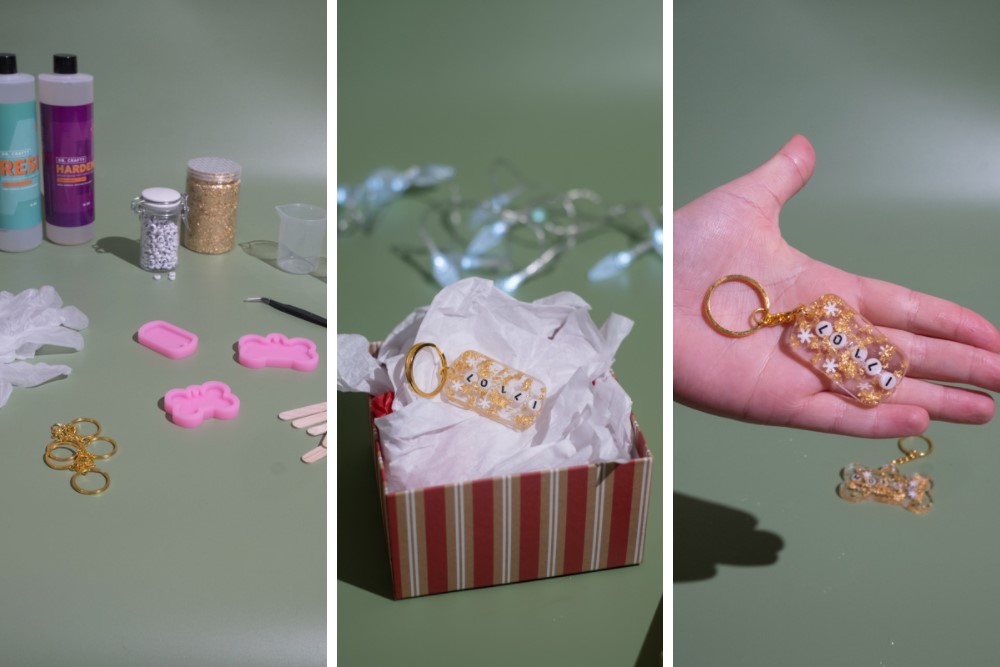
- Craft Resin & Hardener
- Gold flakes
- Letter beads
- Resin mold and keychains
- Plastic cups for mixing if your resin kit doesn’t come with them
- Gloves
- Tweezers
- Popsicle sticks
Step 1:
Mix the resin and hardener per the product packaging. Ours required equal parts resin and hardener and mixing well for 3 minutes.
Tip: make sure to scrape the sides of the cups to ensure you get all of the resin.
Step 2:
Add gold flakes or glitter to the resin and mix well.
Step 3:
Choose your mold and fill it halfway with the resin.
Step 4:
Using the letter beads, spell out your pet’s name. Tip: make sure you think about which side the hole is on and if you need to spell the name backwards in order to read it properly.
Step 5:
Cover the beads with the remaining resin.
Step 6:
Allow molds to set for 24 hours before removing.
Step 7:
Attach the keychain using the key rings.
Step 8:
Put on your pet and enjoy!
Will you be making these? Show us by tagging us @vetriscience on TikTok or Instagram!
Topics: dogs, cats, Just for Fun